Fun Fall Craft || My First Attempt at Crayon Pumpkin Art
I used to be such a crafty person. Used to be. When I saw a friend post a picture of her rainbow crayon art pumpkins, I thought, “I can do that. How hard can it be?”
So when I was visiting my parents in Pennsylvania, and my mom told me we were going to a pumpkin carving party (so we had to go pick out pumpkins), I knew this was a good opportunity to give it a shot.
This was just my take on this fun fall craft, but I’m not certain it’s geared towards the kiddos.
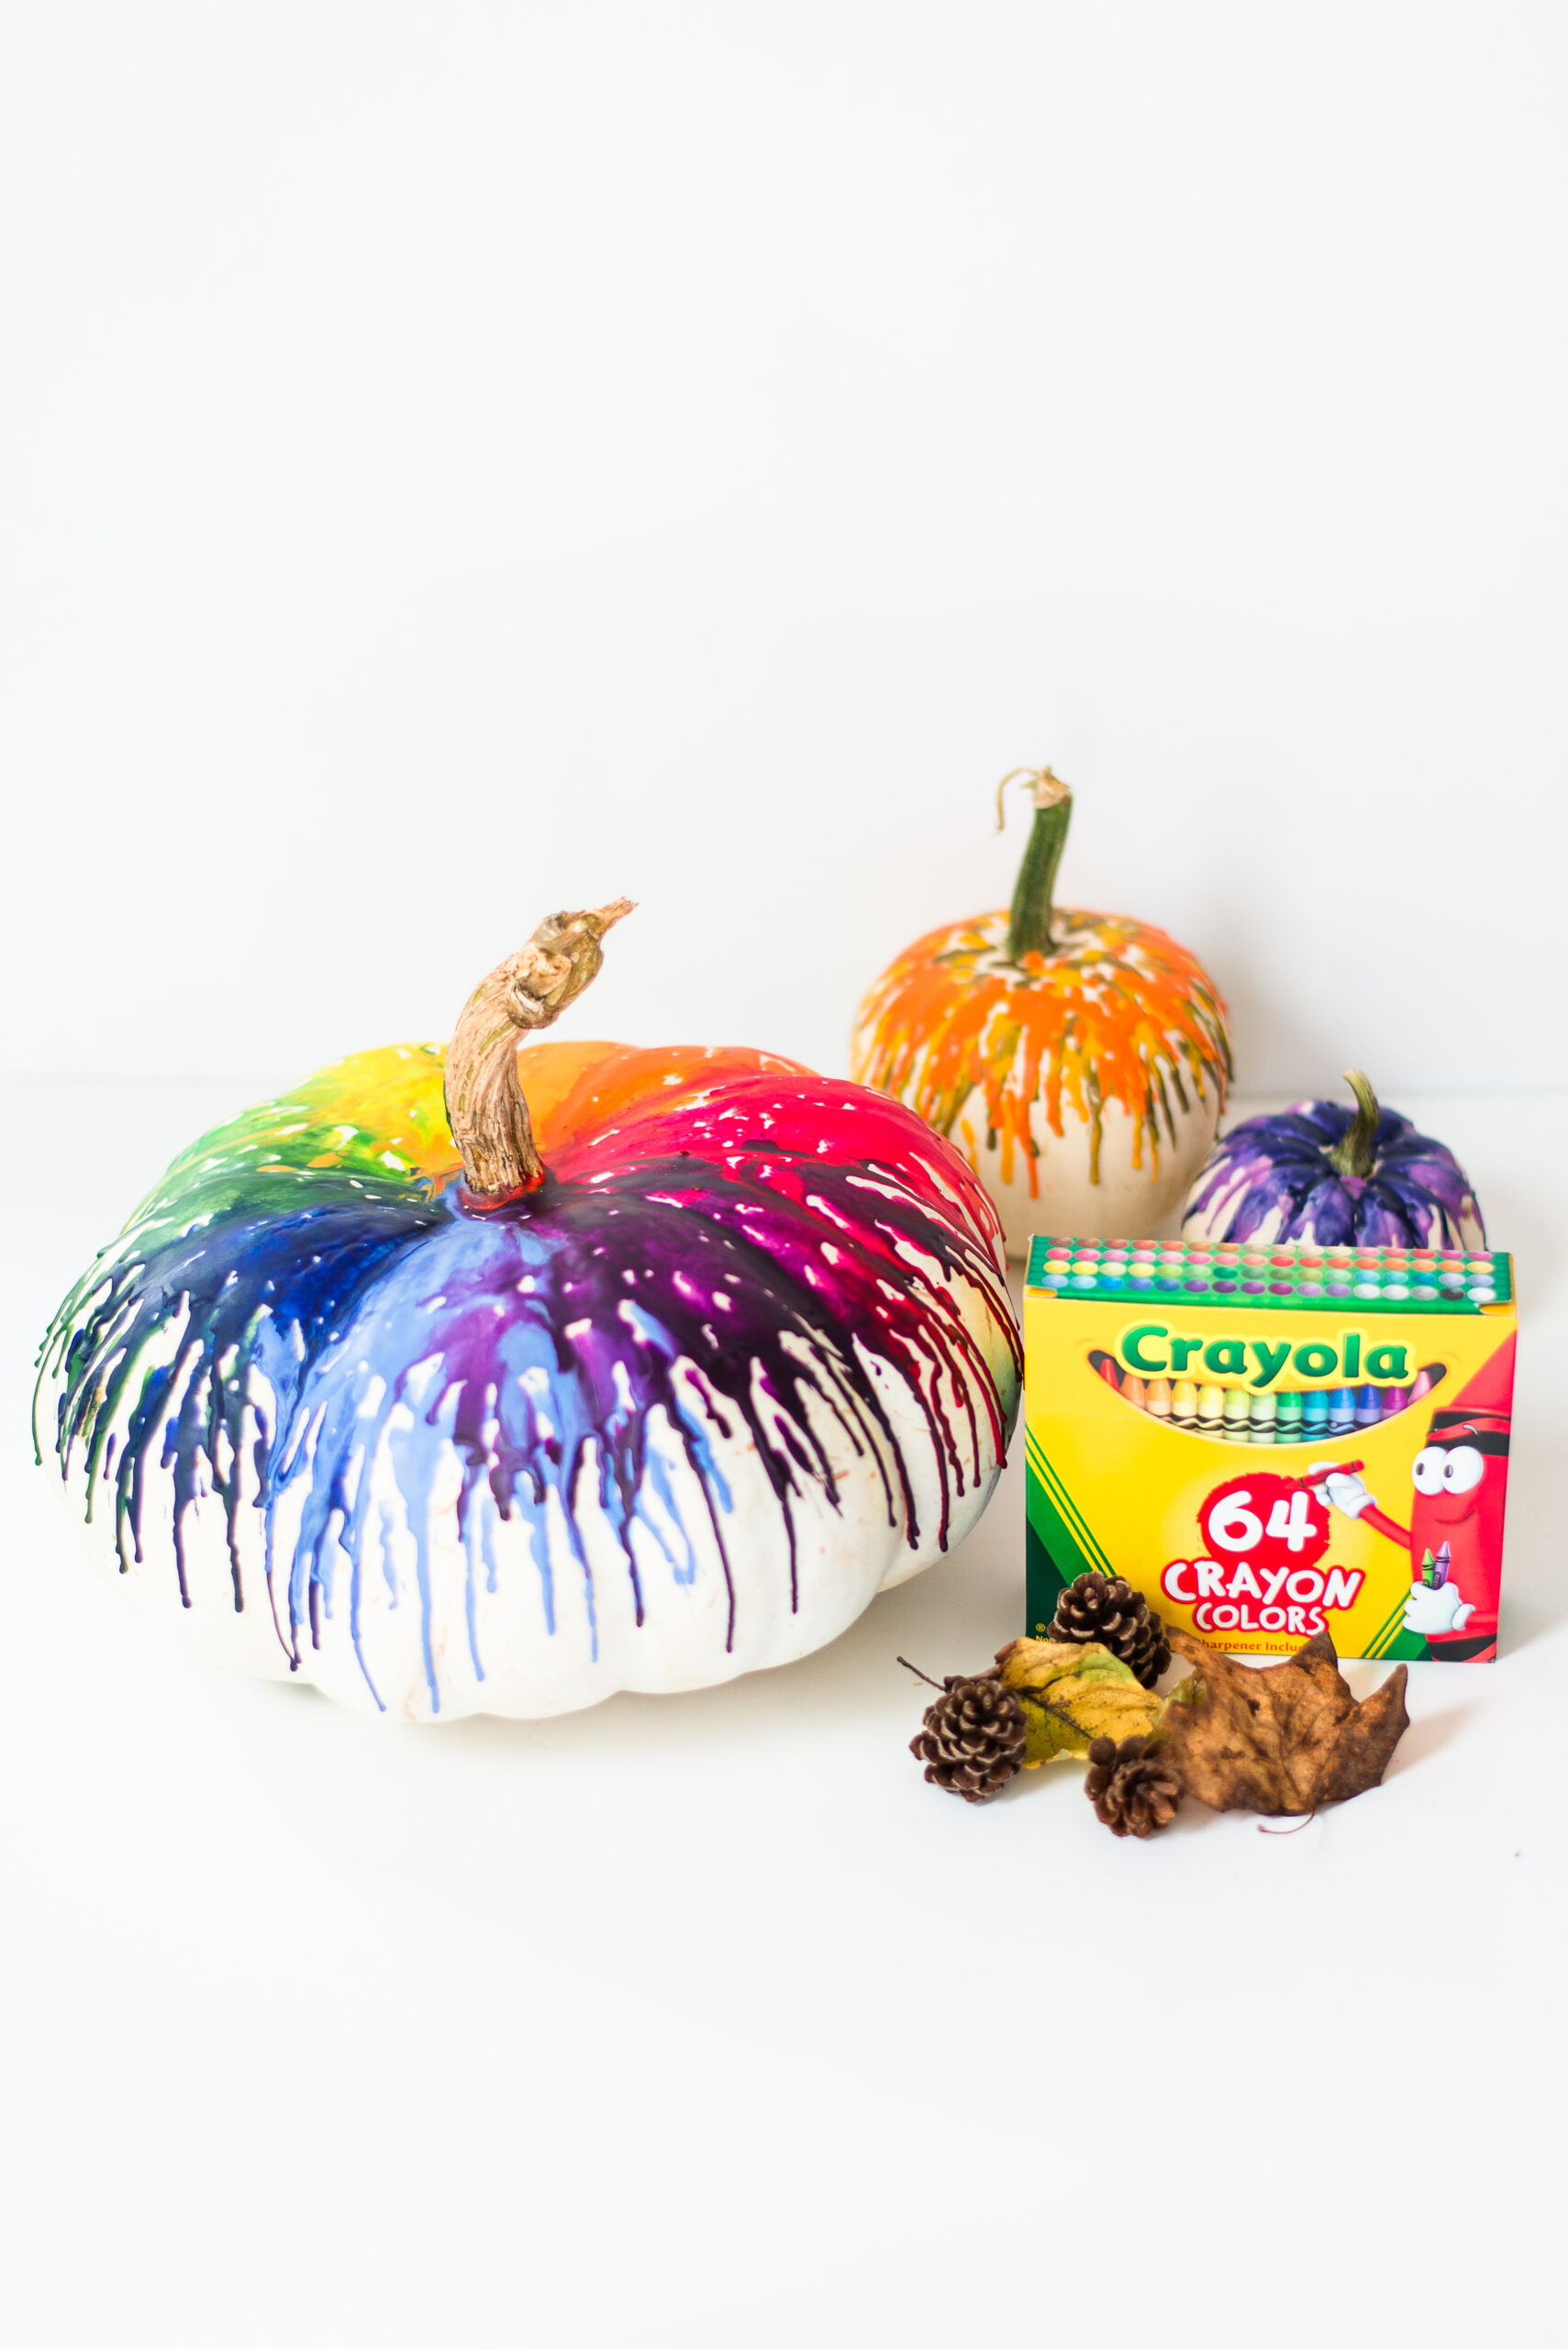
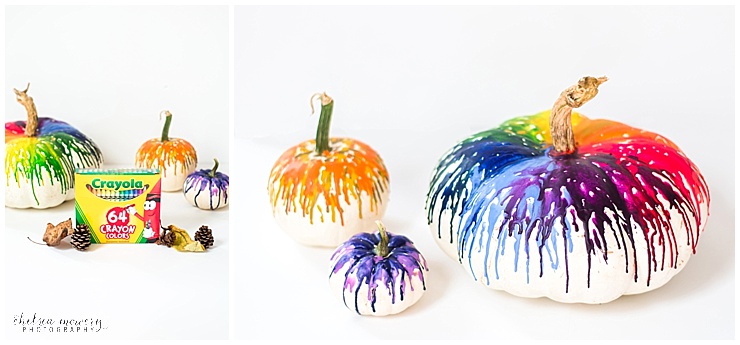
I chose white pumpkins because I really wanted the colors to pop. And you don’t have to do a complete rainbow. You can combine shades of just one color for a cool effect, too.
Supplies you’ll need:
- Large pack of crayons – $3
- A heat gun (I prefer this over a blow dryer, and I’ll explain why later) – $20
- Flat piece of cardboard or shallow cardboard box
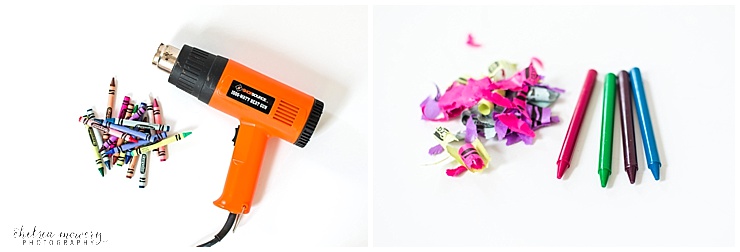
First, you’ll need to peel your crayons. Definitely the most tedious process of the whole project. Once you’ve to your crayons peeled, I would suggest arranging them in a circle in the order of a rainbow. Let’s be real, people, how can we forget ROY-G-BIV?
Unlike the tutorials I’ve seen, I chose to actually hold my crayon while heating it. I tried laying them on top of the pumpkin, but the melting wax would really only move down the grooves of the pumpkin. Another setback was when the melted wax would create a pool on the top around the stem, which would eventually congeal into one solid muddy-colored mess. Not pretty at all.
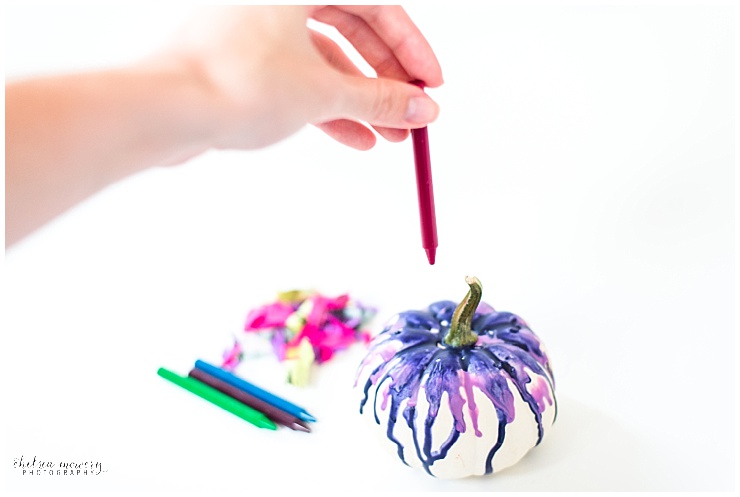
So, place your pumpkin on a good size piece of cardboard, and hold your crayon above the pumpkin, then turn your heat gun to low and direct it at a 45 degree angle downward toward the bottom of the crayon. Hold your heat source about 6 inches to a foot away. The slower the wax drips off, the easier it is to control exactly where it goes.
We first tried the heat gun on it’s highest setting. But 1) It was too hot, and you couldn’t hold the crayon and 2) The wax drippings would blow away from the pumpkin, landing on the cardboard, or even the carpet (yikes!). This leads me to believe that using a blow dryer would be borderline disastrous. So, heat at your own risk all you blow dryer users out there.
After my colors were on, I would go back over with the heat gun and blend them in certain areas. It took some trial and error. But overall, I feel like the project went fairly well. I’m definitely happy with the results.
And ladies, if your husband is anything like mine, when you ask them to do it with you, they may just have their own take on the whole thing. The image below is what my husband took away from my little craft project; definitely adhering to the true spirit of Halloween.

So, if crafts aren’t your thang…no worries. This doesn’t require much skill. It’s an easy fall craft for both the cutesy pumpkin and demented pumpkin lovers alike. Enjoy, and have fun! Happy fall, everyone!