Using Kelvin on a DSLR | Charlotte Photography Mentor
Utilizing your DSLR’s custom Kelvin settings can greatly enhance your photo editing experience. As I mentioned yesterday in my Quick Edit Checklist post, manually setting your Kelvin can save you a great deal of time when editing.
Do you ever get home from a session, load your pictures on your computer, and every single picture looks like something out of a Smurfs movie? Then you spend hours adjusting your White Balance in Photoshop or Lightroom. And in the end, the skin tones still don’t match from image to image. Yeah, been there, done that. Here’s a quick way to fix this issue in-camera so you can spend less time editing and more time doing more important things.
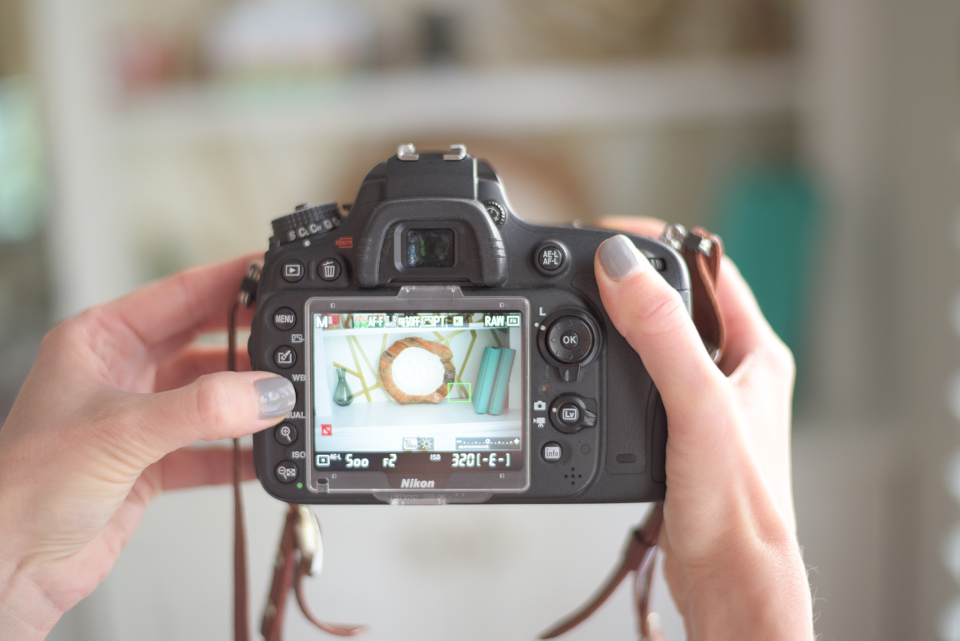
GO GET YOUR CAMERA AND FOLLOW ALONG
Depending on your camera model, your buttons may be located in different places. However, the concept is the same on most models across all brands. There are five super simple steps to this process:
STEP #1
Take your lens cap off. (You laugh, this is a real problem…even for us professionals)
STEP #2
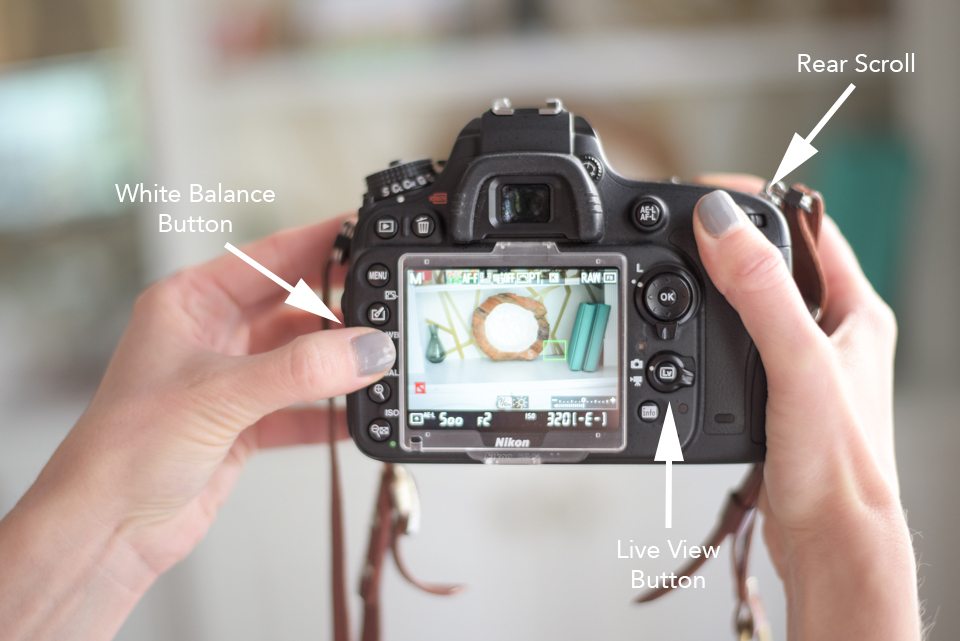
Find your Live View (LV) button that will activate the rear LCD screen, and turn it on.
STEP #3
Locate your White Balance (WB) button. Press it while simultaneously following the instructions for STEP #4.
STEP #4
While pressing your WB button, use the back scroll to change your WB to Kelvin. It will be signified by the letter “K.” You will see the top (or rear) info screen show you that you’re scrolling through the different white balance settings (ie. Auto, Tungsten, Fluorescent, etc)
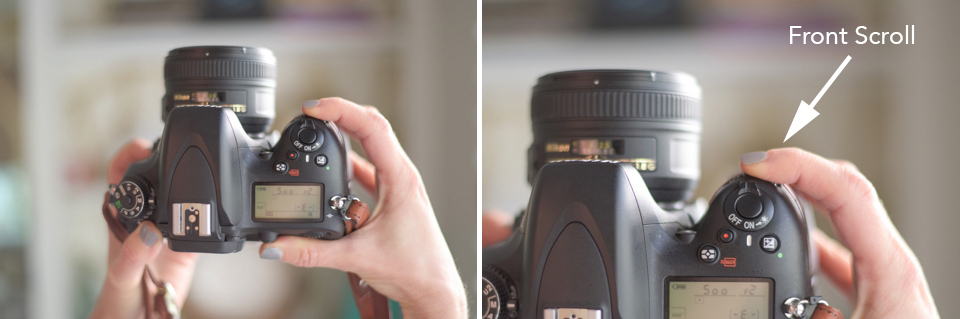
STEP #5
Once you have it set to Kelvin, keep your finger pressed on the WB button. And now, with the front scroll, use it to change the Kelvin number. Scrolling toward the left will make the image cooler. Scrolling toward the right will make the image warmer. All the while, you can watch the rear Live View screen to see your changes instantaneously. Fun, right?
Release all buttons when you’re happy with the look of the image, turn off your live view, and begin shooting. This entire process literally takes me 5 seconds. You’ll get the hang of it, trust me. And the time you take at the beginning of each photo shoot to adjust this is well worth the time you save editing.
If you are looking for more tips and tricks to better your skills with your DSLR, be sure to subscribe to the blog to receive updates! Have questions? Get in touch with us to inquire about 1-on-1 Mentoring. We would love to hear from you!
Share the love by following us on Instagram, Facebook, and Pinterest. If you find a post you love, comment and share it with the world. We love the feedback and support!